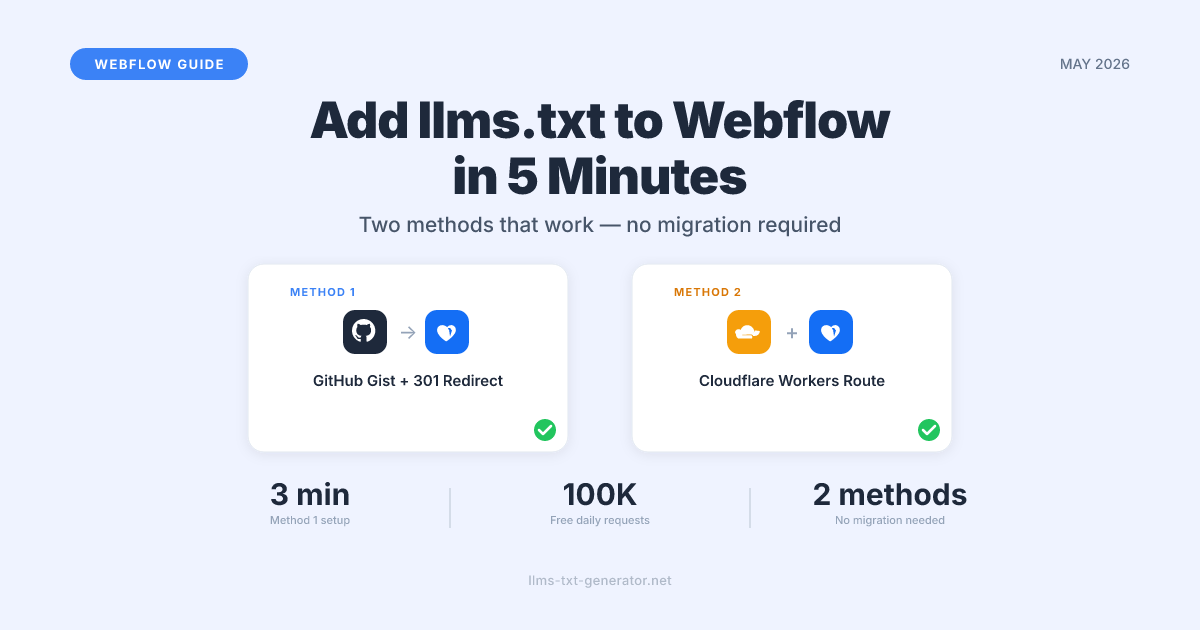
Most tutorials on adding llms.txt assume you're on WordPress, Next.js, or a server you fully control. Webflow is different. Its managed hosting doesn't let you upload a plain text file to the root of your domain — every guide that tells you to "just add the file" will fail if you try it on Webflow.
The good news: two reliable methods work in 2026, and both keep your site on Webflow. You don't need to migrate your hosting or hand off control to a developer.
Follow this guide and you'll have a working llms.txt file at yourdomain.com/llms.txt — readable by AI crawlers like Claude, ChatGPT, Perplexity, and Google AI — in under 5 minutes.
Why Your Webflow Site Needs llms.txt
More than 10,000 websites have added llms.txt files as of 2026. The reason: AI crawlers increasingly use this file to understand what a site contains and which pages are most important for AI consumers to read.
Without a llms.txt file, AI tools may crawl your site but miss your most important content — or deprioritize it in favor of competitors who have explicitly declared their key pages. If you're trying to get your Webflow site cited by ChatGPT, Perplexity, or Claude, llms.txt is one of the first steps.
For a full explanation of what llms.txt is and how it works, see What is llms.txt and Why Your Website Needs One. The short version: it's a Markdown file that lives at /llms.txt on your domain, pointing AI crawlers to your most important pages.
The Webflow File Hosting Limitation
Webflow's hosting is built for web pages — HTML, CSS, and JavaScript. Its file manager handles images, videos, and fonts, but it doesn't support serving arbitrary file types at custom URL paths. There's no way to upload a llms.txt file and have it appear at yourdomain.com/llms.txt through Webflow's native interface.
Here's what doesn't work:
Uploading
llms.txtthrough Webflow's Assets panel — it accepts images, videos, and fonts onlyCreating a Webflow page named
llms.txt— Webflow pages serve HTML, not plain textPlacing a file in your project folder — Webflow doesn't expose a writable filesystem you can access directly
What does work is serving the file from a location Webflow can route to. The two methods below each take a different approach to solve this cleanly.
Method 1: GitHub Gist + Webflow 301 Redirect
This is the fastest setup — around 3 minutes if you already have a GitHub account. You'll host the llms.txt content as a GitHub Gist, then configure Webflow to redirect all requests to /llms.txt to that raw file URL.
Step 1: Generate Your llms.txt Content
First, generate your free llms.txt file using the generator on this site. It'll produce the correct Markdown structure with your site's key pages already filled in. Copy the generated content.
Step 2: Create a GitHub Gist
Go to gist.github.com and sign in (or create a free account).
Paste your
llms.txtcontent into the editor.Name the file exactly
llms.txt— the filename matters for clarity.Choose Public gist (required so AI crawlers can access it without authentication).
Click Create public gist.
Once created, click the Raw button to get the direct file URL. It looks like:
https://gist.githubusercontent.com/username/[id]/raw/llms.txt
Copy that raw URL — you'll need it in the next step.
Step 3: Add the Redirect in Webflow
In your Webflow Designer, go to Site Settings → Hosting → 301 Redirects.
Click Add redirect.
Set the Old path to:
/llms.txtSet the New URL to your GitHub Gist raw URL (starting with
https://gist.githubusercontent.com/username/).Save and publish your Webflow site.
Test by visiting yourdomain.com/llms.txt — you should see the plain text content after a brief redirect.
One limitation to know: AI crawlers follow 301 redirects, so they will read your file regardless. However, the content technically lives on GitHub's servers. For most Webflow sites, this doesn't matter — the crawler reads your declared content either way. If you need the file served natively from your own domain, use Method 2.
Method 2: Cloudflare Workers
If your domain uses Cloudflare for DNS (the free plan works), Cloudflare Workers lets you intercept requests to /llms.txt and return the file content directly — no redirect, no external domain. This is the most reliable method for Webflow sites and requires no changes to your Webflow project.
Step 1: Set Up Cloudflare (Free)
If your domain already uses Cloudflare DNS, skip to Step 2. If not:
Create a free account at cloudflare.com and add your domain.
Update your nameservers at your domain registrar to point to Cloudflare. This is a one-time DNS change — Webflow continues to serve your site normally afterward, since Cloudflare proxies the traffic through.
Step 2: Create the Worker Script
In your Cloudflare dashboard, go to Workers & Pages → Overview → Create.
Choose Create Worker and name it something like
llms-txt.Replace the default script with this:
export default {
  async fetch(request) {
    const content = `# YourSiteName
> One-sentence description of your site and what it offers.

## Key Pages

- [Home](https://yourdomain.com/): Brief description of your homepage
- [About](https://yourdomain.com/about): About your team and mission
- [Blog](https://yourdomain.com/blog): All published articles
`;

    return new Response(content, {
      status: 200,
      headers: {
        "Content-Type": "text/plain; charset=utf-8",
        "Cache-Control": "public, max-age=86400",
      },
    });
  },
};
Replace the content string with your actual llms.txt output. Generate your llms.txt file for free if you haven't already — then paste the result inside the backticks.
Step 3: Add a Route for Your Domain
After saving the Worker, navigate to your domain in Cloudflare → Workers Routes → Add Route.
Set the route pattern to:
yourdomain.com/llms.txtSelect the Worker you just created from the dropdown.
Save the route.
Wait 60 seconds for Cloudflare to propagate, then visit yourdomain.com/llms.txt. You should see the plain text file content served directly — no redirect, no external domain in the URL bar.
Which Method Is Right for You?
Factor | Method 1: GitHub Gist + Redirect | Method 2: Cloudflare Workers |
|---|---|---|
Setup time | ~3 minutes | ~5–10 minutes |
Technical skill required | Minimal — no code | Low — copy/paste a script |
File served from your domain | No (301 redirect to GitHub) | Yes — native, same domain |
How to update | Edit the GitHub Gist directly | Edit the Worker script |
Cost | Free | Free (Cloudflare free plan covers this) |
Cloudflare DNS required | No | Yes |
Best for | Quick setup, non‑technical users | Sites already on Cloudflare, or wanting native serving |
Recommendation: If you already use Cloudflare, go with Method 2 — it's cleaner and more reliable long term. If not, Method 1 takes under 3 minutes and works for the vast majority of use cases, since all major AI crawlers follow redirects.
What to Put in Your llms.txt File
A good llms.txt file is short, structured, and links to your most important pages. Here's the format AI crawlers expect:
H1 heading: Your site name (e.g.,
# YourSiteName)Blockquote: One sentence describing what your site does and who it's for
Grouped sections: Markdown headings organizing your most important pages by topic or type
Absolute URLs: Full links with descriptive anchor text — not just page titles
Keep the file under 2,000 characters. AI models use it as a navigation map, not a substitute for your full content. Include your 5–10 most important pages, not every URL on your site. For detailed guidance on structure and common mistakes, see llms.txt Best Practices: 10 Rules for Maximum AI Discoverability.
Verifying Your llms.txt Is Working
Once you've set up either method, run these checks before calling it done:
Browser check: Visit
yourdomain.com/llms.txtdirectly. You should see plain text — not a Webflow page with navigation and a footer.Content-Type check: Open browser DevTools → Network tab, reload the URL, and inspect the response headers.
Content-Typeshould showtext/plain— nottext/html.Redirect check (Method 1 only): The browser address bar will show the GitHub Gist URL after redirect — this is expected and fine for AI crawlers.
Crawler verification: For a thorough check, see How to Verify Your llms.txt Is Being Crawled by AI — it covers tools and log patterns for confirming AI crawlers are actually reading your file.
Keeping Your llms.txt Up to Date
Your llms.txt should reflect your current site structure. Update it whenever you add a major new page, product section, or content hub. You don't need to update it for every new blog post — only when your site's core structure changes significantly.
With Method 1 (GitHub Gist), editing the gist immediately updates the content with no Webflow publish required. With Method 2 (Cloudflare Workers), you edit and deploy the Worker script, which takes effect within seconds. Both are low-maintenance once set up.
Conclusion
Webflow's managed hosting makes direct file uploads impossible at custom paths, but both the GitHub Gist redirect and the Cloudflare Workers approach solve this cleanly in under 10 minutes — no platform migration required. Most Webflow users will find Method 1 sufficient; if you're already on Cloudflare, Method 2 is the cleaner long‑term choice.
Once your llms.txt is live, use the generator to refresh your file whenever your site's key pages change. A stale llms.txt is nearly as unhelpful as no file at all.
Frequently Asked Questions
Does Webflow support llms.txt natively?
No. Webflow's hosting doesn't allow you to upload arbitrary files to custom URL paths through its native dashboard. You need one of the workarounds in this guide — either a GitHub Gist redirect via Webflow's 301 settings, or a Cloudflare Workers route.
Will a 301 redirect work for AI crawlers?
Yes. All major AI crawlers — including ClaudeBot, GPTBot, PerplexityBot, and Googlebot — follow 301 and 302 redirects. A redirect from yourdomain.com/llms.txt to a GitHub Gist raw URL is functionally equivalent to serving the file directly, from the crawler's perspective.
Do I need a paid Cloudflare plan for Method 2?
No. Cloudflare Workers has a free tier that allows up to 100,000 requests per day — far more than enough for a llms.txt endpoint, which typically receives a few hundred bot requests per day at most. A paid plan is only needed if you anticipate millions of daily requests.
Can I host my llms.txt on a subdomain instead?
Partially. The llms.txt file should live at the root path of the domain it covers: yourdomain.com/llms.txt. A file at blog.yourdomain.com/llms.txt is valid only for content served from that subdomain — it won't represent your main site to AI crawlers.
How often should I update my Webflow site's llms.txt?
Update it when your site's core structure changes — new product pages, major content sections, or significant navigation changes. You don't need to update it for every new blog post. Most sites update their llms.txt once a month or less. With Method 1 (GitHub Gist), updates take under a minute.
What if my Webflow site uses a custom domain on Webflow hosting?
Both methods work with any custom domain. Method 1 only requires that your domain is registered somewhere with Webflow's hosting configured — the redirect is added inside Webflow's settings. Method 2 requires your domain's DNS to route through Cloudflare, but Webflow continues to serve your site normally since Cloudflare proxies all non-/llms.txt traffic through to Webflow.
Does llms.txt improve my Webflow site's Google SEO?
llms.txt is not a traditional Google SEO signal — it won't affect PageRank or core search rankings. Its purpose is AI discoverability: helping ChatGPT, Perplexity, Claude, and similar tools find and cite your content. As AI‑driven search becomes a larger share of web traffic in 2026, this matters increasingly for traffic that doesn't come through Google.
Will adding llms.txt make my Webflow site appear in AI answers right away?
Not immediately. AI crawlers need to visit and index your file first, which typically takes days to weeks after you publish it. Once indexed, there's no guarantee of citation — llms.txt improves discoverability, not ranking in AI responses. Think of it as an investment in long‑term AI visibility rather than an instant traffic boost.
Can I verify that AI crawlers have found my llms.txt?
Yes. Server access logs will show bot user agents making requests to /llms.txt — look for ClaudeBot, GPTBot, PerplexityBot, and Googlebot. Cloudflare's analytics dashboard also logs Worker requests by path if you use Method 2. For a step-by-step verification guide, see How to Verify Your llms.txt Is Being Crawled by AI.
What happens to my llms.txt if I leave Webflow later?
If you migrate to a platform that supports direct file hosting (WordPress, Next.js, or any static site), you can upload llms.txt directly and remove the redirect or Worker. The URL stays the same — yourdomain.com/llms.txt — so any AI indexing already done for your file remains valid and doesn't need to be rebuilt.